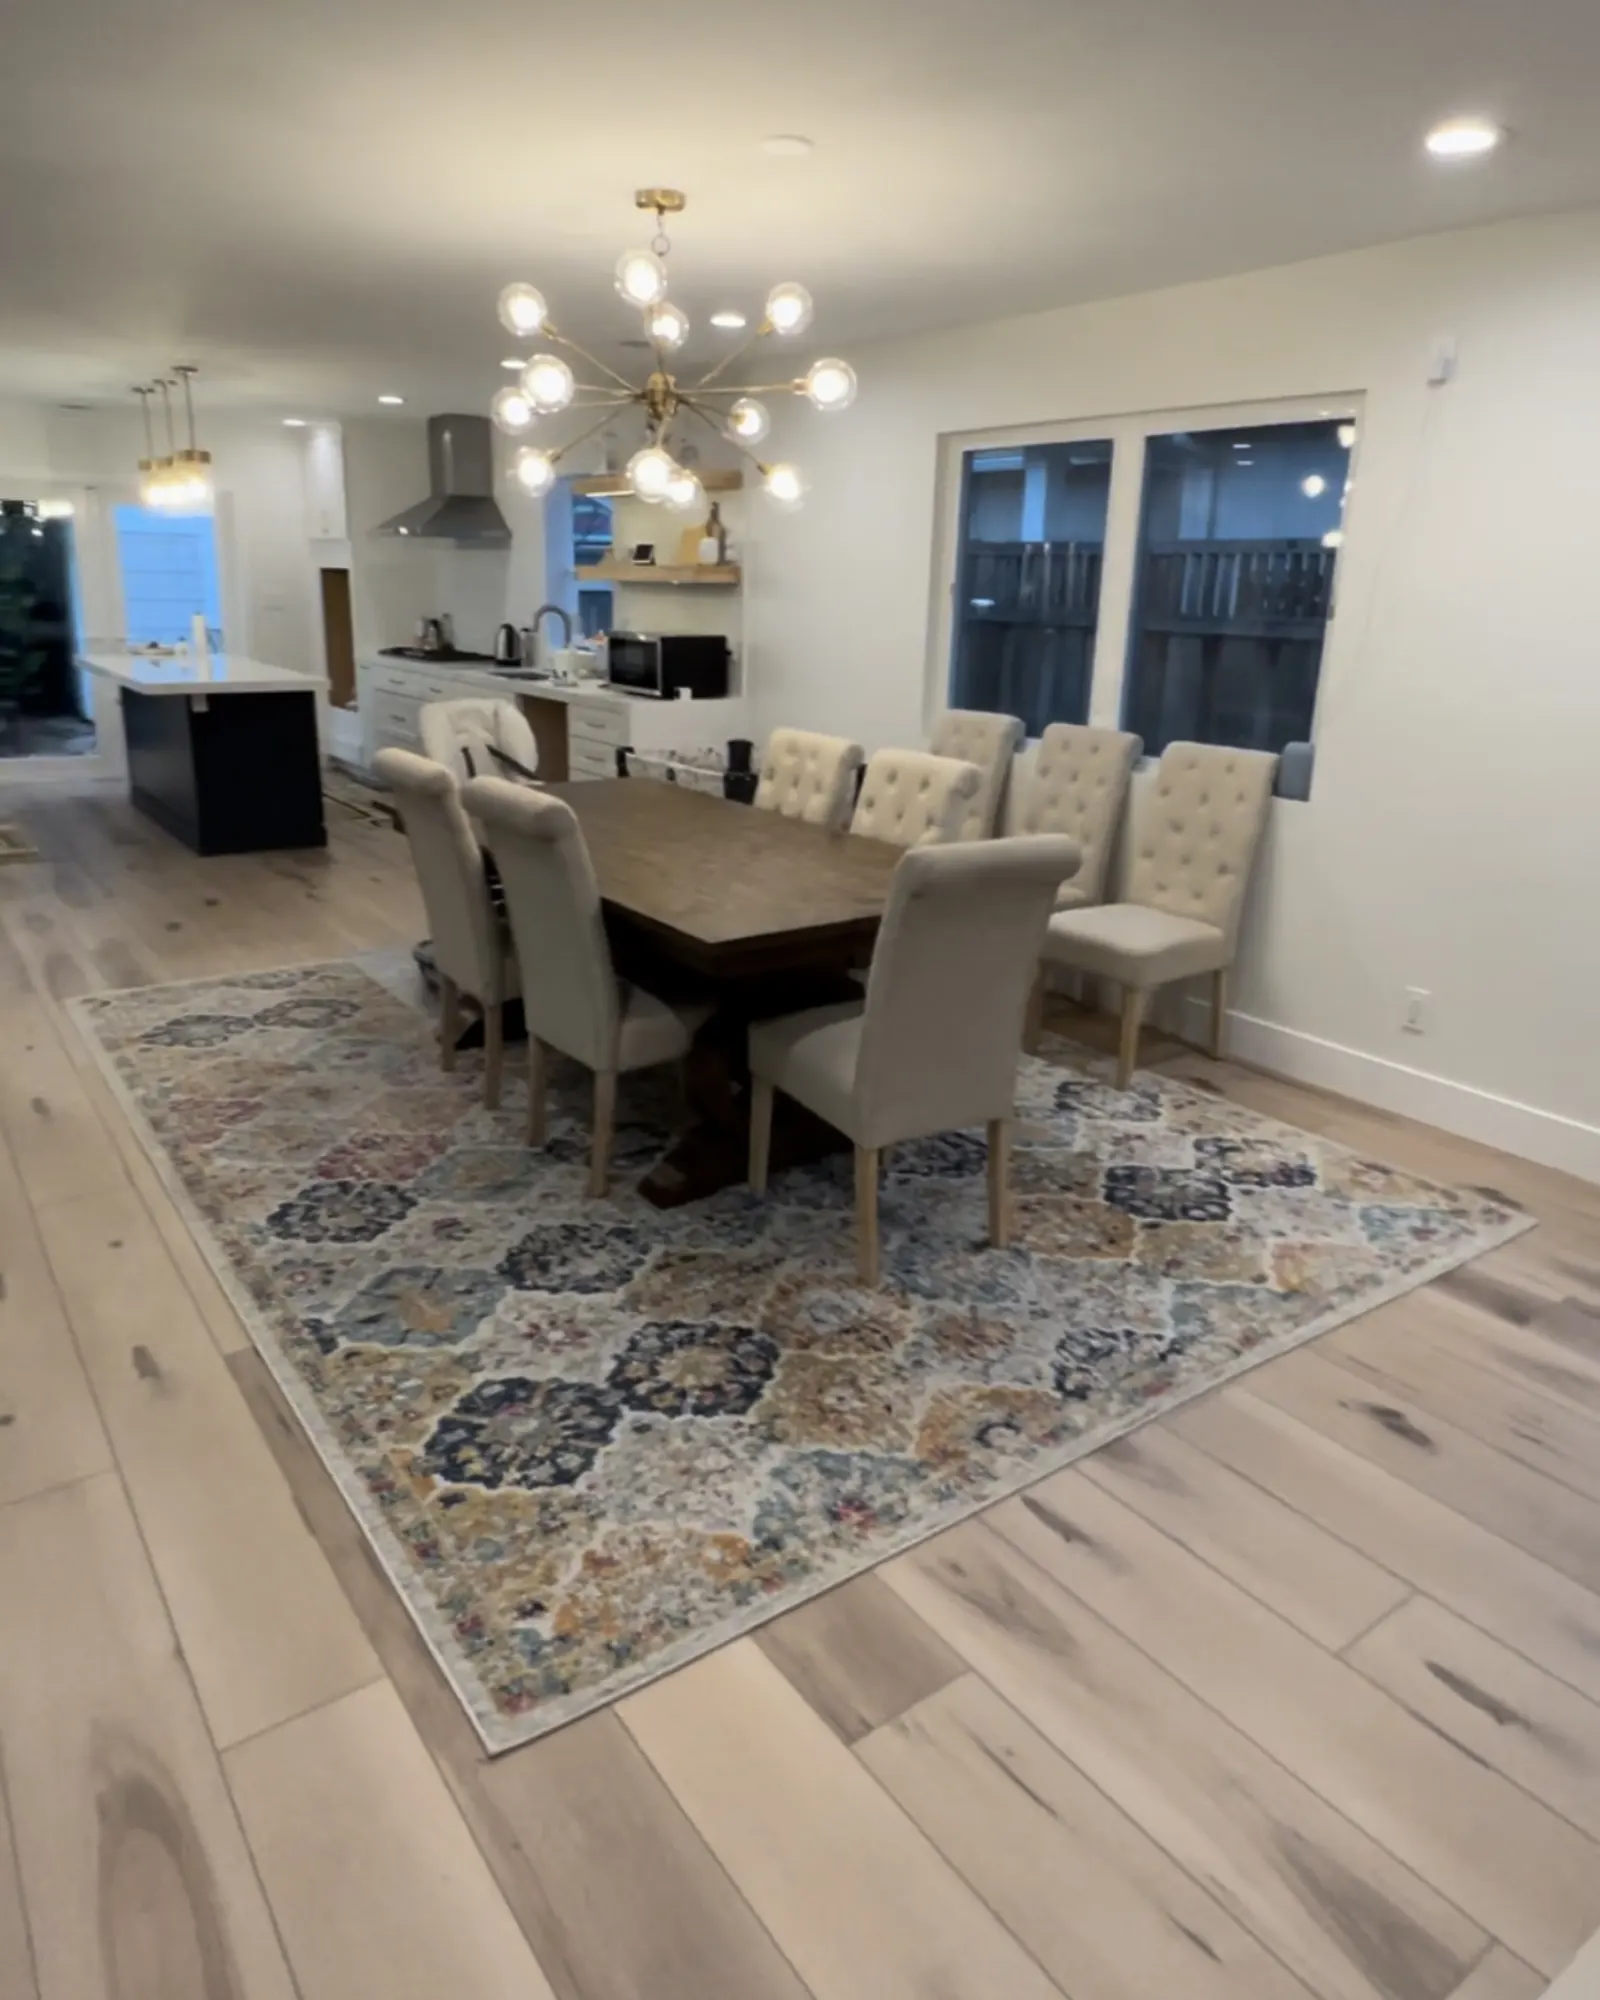
The kitchen island is the single most influential design choice in most kitchen remodels. It determines workflow, defines the social geometry of the kitchen, and accounts for 15–30% of the total kitchen budget on its own. Here's how to think about it.
Sizing
Minimum island size
For an island to be functional, it should be at least 4' long and 2' deep. Smaller islands look "small" and don't add prep space.
Comfortable island size
Most well-designed Bay Area kitchen islands are 6'–8' long and 3'–4' deep.
Large islands
Premium kitchen designs often have islands 9'–12' long with both a working zone and a seating zone. These work in kitchens that started as "great rooms" with open floor plans.
Walkways around the island
This is where many kitchen remodels go wrong. Minimum clearances:
- 42" from the island to walls or cabinets in a one-cook kitchen
- 48" if two people will be in the kitchen simultaneously
- 54" behind seated diners (so people can walk behind them while they eat)
If your kitchen footprint doesn't allow these clearances, the island is too big — and a smaller island will work better than a too-large one.
Seating
Counter-height (36")
Same height as the counters. Cleanest look — the island reads as one continuous surface. Requires a 12"–15" overhang for knee clearance. Stools need to be counter-height (24"–26" seat).
Bar-height (42")
Higher than counter. Often used with a raised secondary surface (the cook side is 36", the diner side is 42"). Gives some separation between cook and diner. Requires bar-height stools (28"–30").
Table-height (29"–30")
Lower than counter. Used with a recessed seating area or attached "peninsula table." Premium look but uses more floor space.
Overhang depth
For comfortable seating:
- Counter-height: 12" overhang minimum, 15" preferred
- Bar-height: 10" overhang minimum, 12" preferred
Overhangs over 12" usually need corbel support or steel brackets concealed within the cabinetry — don't skip this engineering detail.
Plumbing in the island
Prep sink
Small (12"–18" wide) sink dedicated to prep work. Frees up the main sink for cleanup. Common in larger kitchens. Plumbing has to be run under the slab or floor — significant work in slab-on-grade homes.
Main sink
The primary sink on the island faces into the room. Works well in open-plan kitchens. Hides dishes from the dining area. Requires careful planning of disposal and dishwasher placement.
Cost implication
Adding plumbing to an island adds $4,000–$12,000 depending on what's under the floor. In raised-foundation Bay Area homes, it's relatively easy. In slab-on-grade homes (some 1950s tract construction), it requires saw-cutting the slab.
Electrical in the island
Code requires outlets on the island (one outlet per 24" of counter section, usually 2–4 outlets total). Options:
- Sides: outlets on the seating side or the cook side
- Pop-up: outlets that retract into the counter when not in use (premium but $400–$900 each)
- Underside: outlets on the underside of the overhang (clean look, code-compliant in most jurisdictions)
If you're opening to the island (removing a wall)
Many Bay Area kitchen remodels involve removing a load-bearing wall to create the island and open-plan layout. That means:
- Structural engineering to size the replacement beam (usually a steel I-beam or LVL)
- Permit + inspection
- Potential foundation work where the new posts land
- Sometimes HVAC and electrical rerouting
Plan for $15,000–$45,000 in structural work depending on the wall, the beam size, and what's above.
Designing a kitchen island? Learn more about our kitchen remodeling services or request a free consultation.
Planning a Bay Area remodel?
High Touch Consulting & Development is a licensed general contractor serving the San Francisco Peninsula and Silicon Valley. We provide free on-site consultations and fixed-scope written proposals.